Zeapon Micro 2 slider review: compact and fully motorized
I’ve been wanting a motorized slider ever since the day I tried using a manual slider. Maybe it’s just me, but I could never get perfectly smooth, steady shots using one. I’m sure there are people out there with steady hands who have no trouble at all, but no matter how much I concentrated or avoided caffeine, I couldn’t move a slider manually without introducing bumps and hiccups into my footage.
So when Zeapon reached out and asked if I’d be interested in reviewing their Motorized Micro 2 slider, I enthusiastically accepted their offer. In full disclosure, Zeapon provided me with the slider, but like all other product reviews of mine, Zeapon has had no editorial input on this review. All opinions are my own.
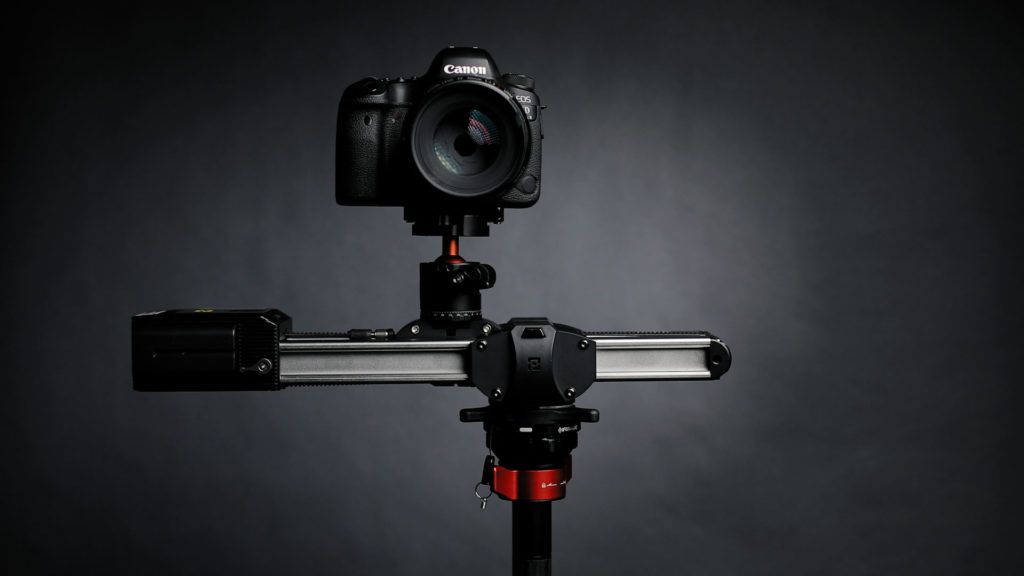
Zeapon Motorized Micro 2
At the time of this review, the Motorized Micro 2 is the smallest motorized slider Zeapon sells. The Micro 2 is sold as a manual slider in addition to the Motorized model. If you buy the manual slider, you can later buy the motor, which will give you the same setup.
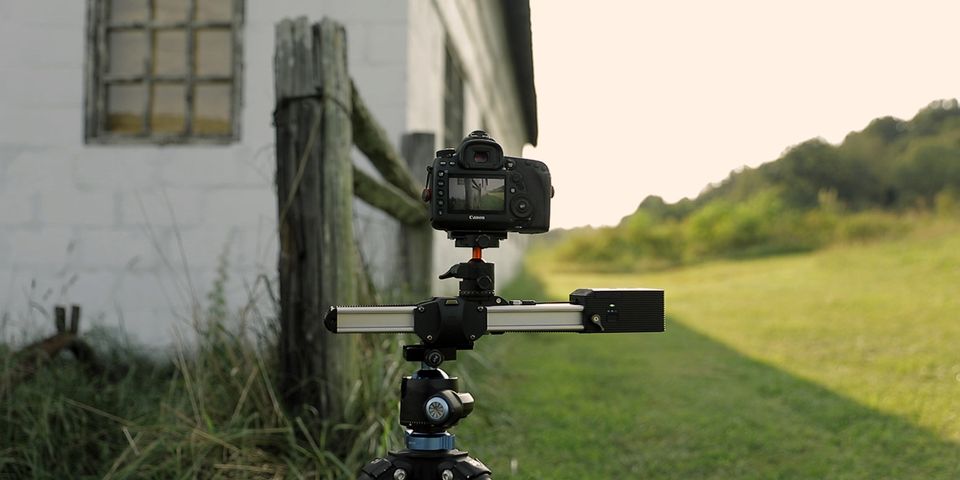
The Motorized Micro 2 weighs 3lbs or 1.36kg, and has a compact footprint of 16” or 40cm in length. This makes the Micro 2 just the right length for carry-on camera backpacks. Carrying capacity (how heavy your camera rig can be) is 10lbs or 4.5kg.
The construction is aircraft-grade aluminum alloy, stainless steel, and ABS composite, which you can definitely feel both in weight and in the overall fit and finish of its construction.
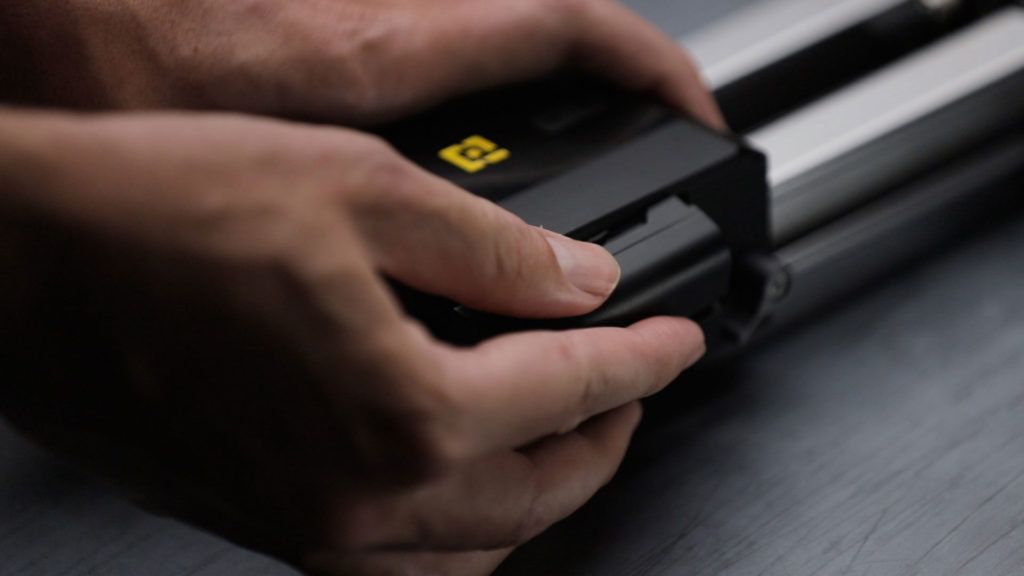
At the back of the slider is the motor. The motor runs on standard Sony NP-F batteries. Supported NP-F batteries include the F550, F750, and F970. I used an F550 battery and tested how long the slider could continually run on a loop carrying a ball head, DSLR, and lens, and I got around 6 hours, so if you were to use an F750 or F970 battery, you could get even longer run times.
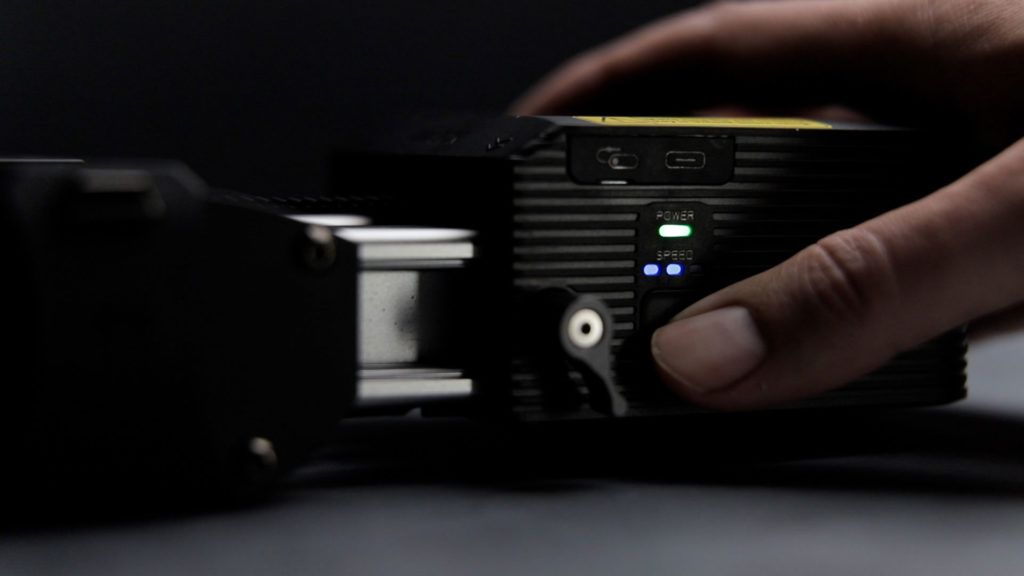
On the side of the motor, a power button turns the slider on and off and changes speed from slow to medium to fast. On top, two arrow buttons. Press and hold the buttons and the slider moves back and forth at the speed assigned by the power button.
Mounting the slider
The Zeapon Motorized Micro 2 needs to be mounted in order to slide. In other words, you can’t use the slider by itself on a table, or else it will tip over.
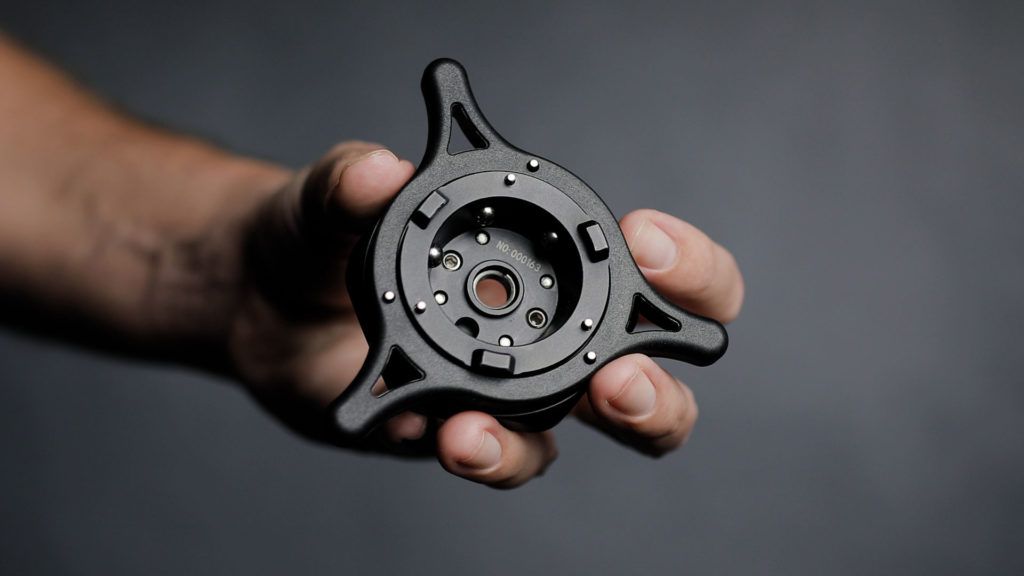
The slider is mounted using a ⅜” female bottom thread. This allows you to mount the slider directly to a tripod or quick release plate. If you would rather attach the slider to a ball head or fluid video head, you can use the provided ⅜” to ¼” adapter to mount a plate instead.
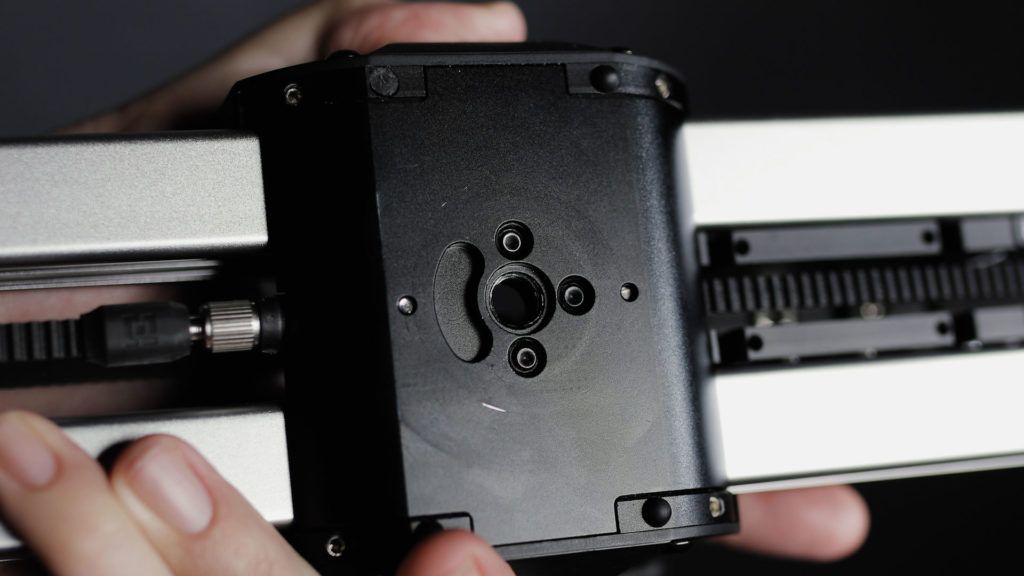
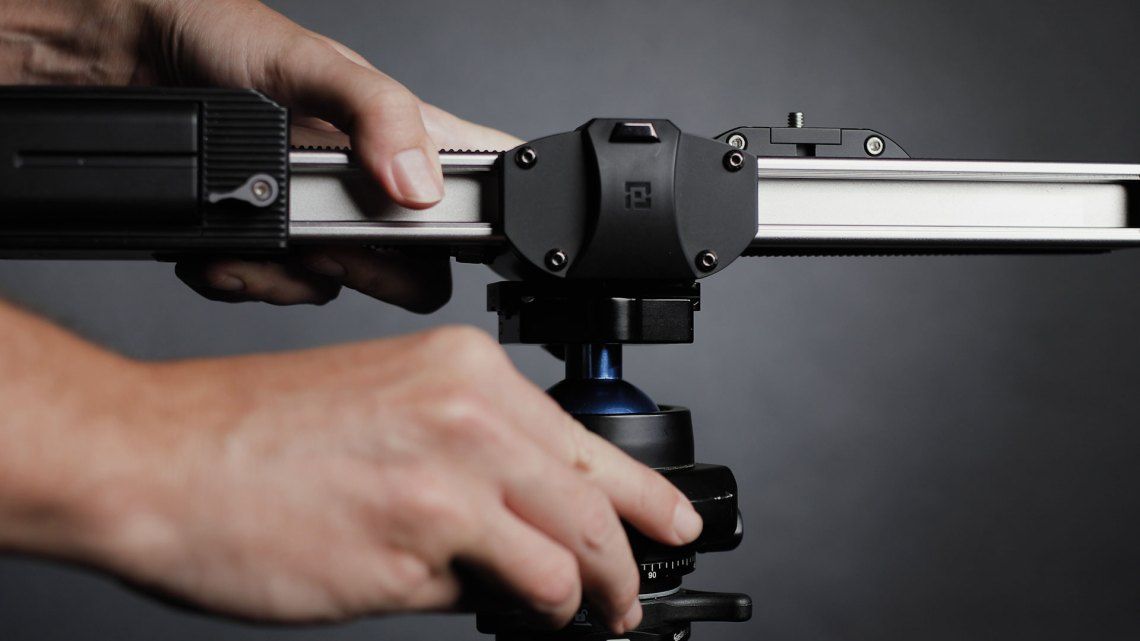
On top — where the camera is attached — is a ¼” male thread. You could attach a camera directly to this thread, but you will have better results and more control by mounting a ball head first, then attaching a camera.
Because of the slider’s weight, plus the weight of the camera and lens sliding back and forth, how you mount the slider is important. The mount needs to be strong and secure so the slider doesn’t dip, bend, or cause the tripod to fall over. The more stable and strong your mount, the more level your footage will be when the camera slides to the rail’s farthest endpoints.
Overall, after testing multiple mounting options, the setup which worked best for me was a combination of products from iFootage — the Gazelle TC6 tripod, the legs from the iFootage monopod (which can be detached for use as a tabletop tripod), plus a set of iFootage Seastars Quick Release plates.
Using the Gazelle TC6, I could level the Zeapon slider without using a ball head or fluid video head thanks to its integrated leveling base. Then when I wanted to go from a high to low shot (or vice versa), I could unlock the quick release plate and move the slider with camera attached from the tall Gazelle TC6 to the tabletop tripod (and back again) without breaking everything down and wasting time.
Movement
What’s unique about the Zeapon Motorized Micro 2 is that its rails are 13” or 33cm in length, but the camera travel distance is 21” or 53cm.
Which mathematically doesn’t make sense. How can the camera travel further than the length of the slider?
Well, because the slider moves with the camera. It’s sort of similar to adding tracks in front of a moving train, because as the camera moves, the rails slide underneath in the same direction. This lengthens your shot an extra 8”; making footage look like it was captured using a longer slider.
Additionally, by moving the rails with the slider, it means you can move the camera forward and backward pointing towards the rails and the rails will never get in your shot, unlike other sliders.
If you just want to do a quick, automatic, back and forth movement with the slider, simply move the slider to a starting position, then double-click the power button. This sets the first waypoint. Move the slider to point B, then double click the power button again. You should hear two beeps this time. Now, double click the power button, and the slider will automatically slide from point A to point B, then stop. To repeat the sequence, double click on the power button again.
To loop the sequence you just created, hold down the forward arrow key, then press the power button. The camera will then continually slide between waypoints. To stop, press the same buttons again.
When you set waypoints, the forward and backward buttons no longer function. Press and hold the two arrow buttons to clear the waypoints and return to default behavior.
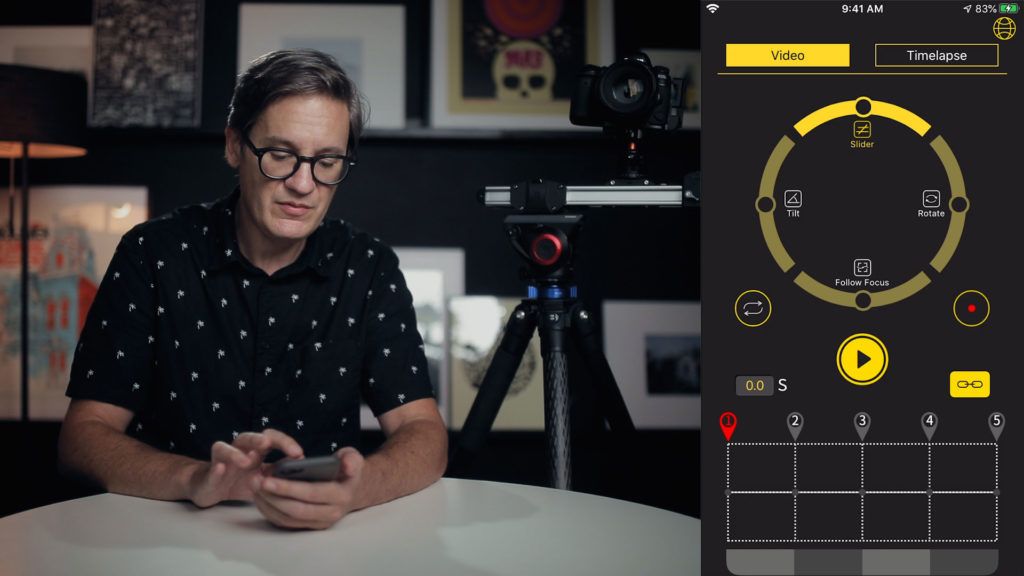
Zeapon Mobile App
Available for both iOS and Android, the Zeapon Mobile App provides more sophisticated control of the Motorized Micro 2.
The app consists of two screens — Video and Timelapse.
Video is used when recording video. You can move the slider back and forth with more nuanced speed control (compared to the three speeds on the motor). Additionally, you can set multiple waypoints and control the speed at which the camera moves between each. For example, you could begin a slide at one speed, then gradually slow down or speed up the camera as it moves to its next waypoint.
Timelapse is used when capturing timelapse photos. This adds motion to static time-lapses by incrementally moving a camera between waypoints. The Zeapon mobile app calculates for you how many photos will be captured, how long the final timelapse will be, and how long it will take to complete. To perform these calculations, you must use a fixed value for shutter speed on your camera. This means you will have to use Manual or Shutter Priority exposure modes when creating time-lapses with the Zeapon.
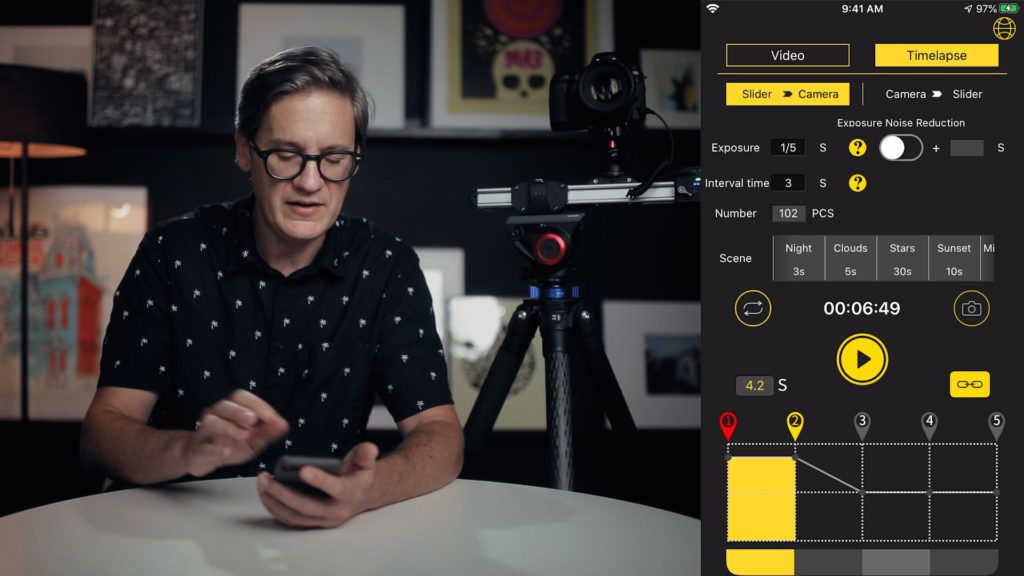
In general, timelapse mode works fine if you’re creating basic timelapses over short periods of time. Where I struggled with the Zeapon was when shooting a day-to-night timelapse and I needed to change the aperture and ISO settings on the camera. I stopped the timelapse, made my exposure edits, then restarted, and the whole timelapse sequence started over from the first waypoint. In other words, it’s not possible to pause a timelapse once its started. Exposure edits have to be done quickly on the camera between shots while the camera is moving.
Final thoughts
Overall, a fantastic slider, especially for shooting video. The build quality is great, I never had trouble connecting or using the app, and I love its small size. I could see myself packing and flying with the slider someday (once the world is allowed to travel again).
For creating timelapse videos, I think it’s good, but not great. There’s the aforementioned issue with not being able to pause time-lapses once they start, in addition to a lack of additional hardware to rotate, pan and tilt the camera, which is something professional timelapse creators need. Right now, it’s not a complete system for professional timelapse creators, but for basic timelapse use, it works great and helps make an average timelapse look far more dynamic.
Video Review
Check out the video version of this review below.