Rapid masks in Lightroom using FREE presets (and how build your own)
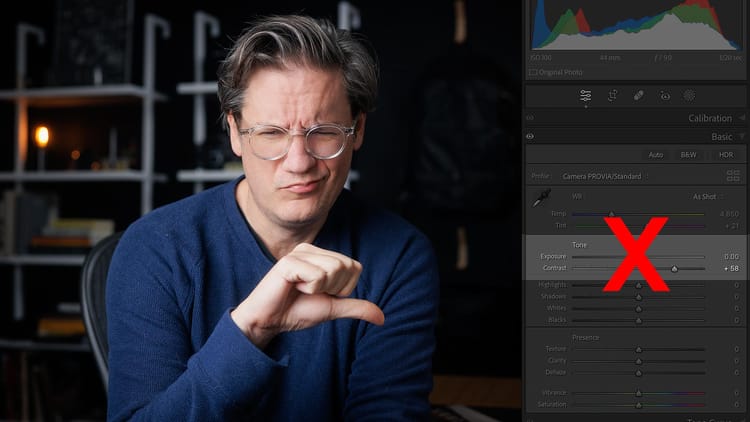
I use Adobe Lightroom Classic's masking tools with nearly every image to dodge and burn, tweak clarity and detail, add light, create luminosity masks, and apply other small, localized adjustments. I am constantly clicking on the masking panel, selecting a mask, drawing a gradient, and then intersecting, adding, or removing the mask from another mask. The process can be slow and time-consuming.
Then one day it dawned on me — why not create presets to automatically build the masks I use most often?
So that's exactly what I did.
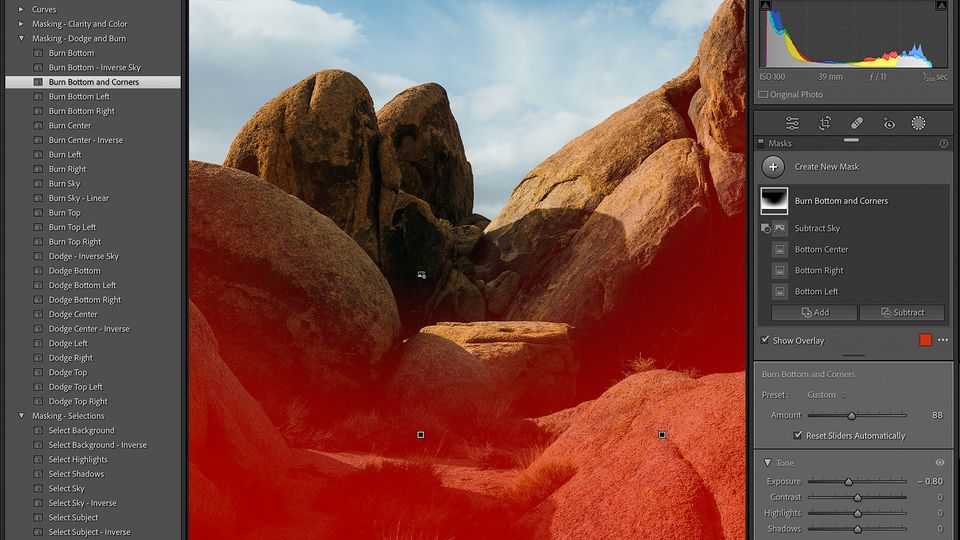
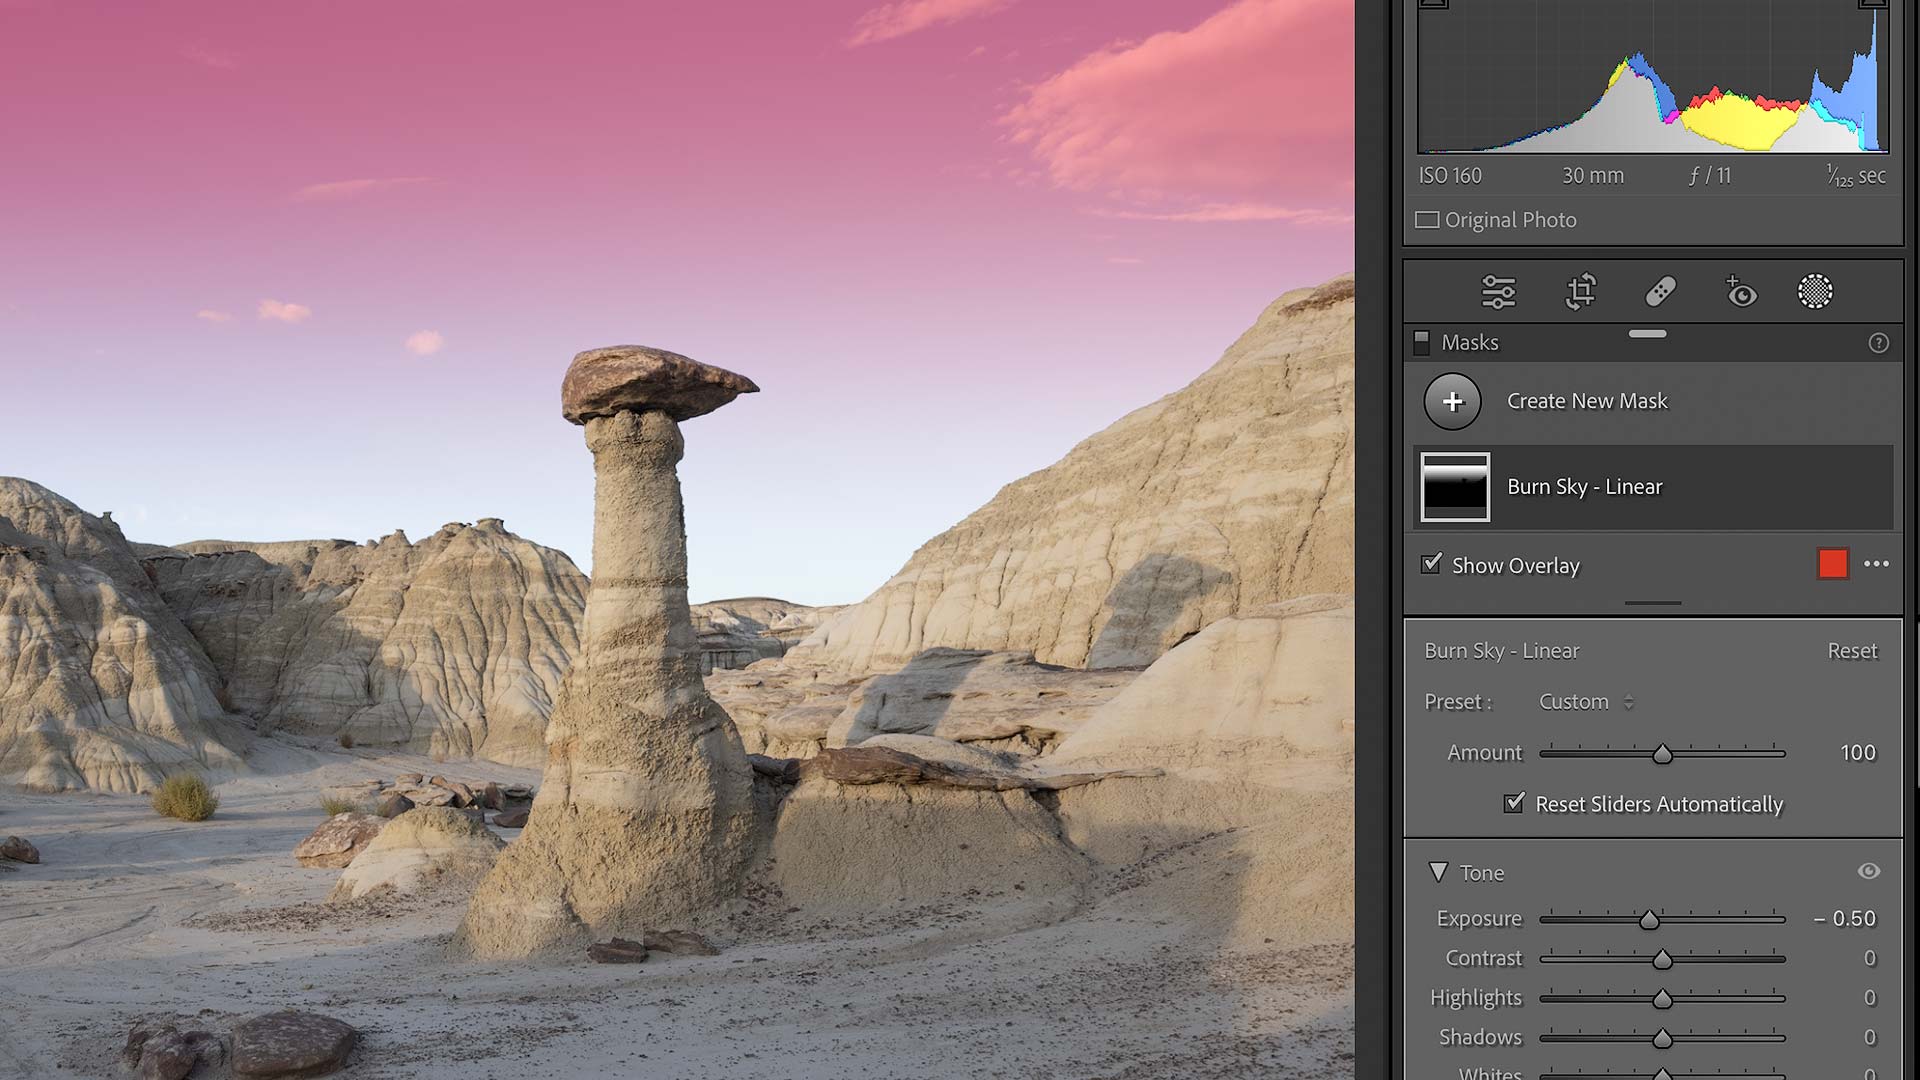
The presets included in this collection include simple selections (eg, "Select Sky"), more complex selections (eg, "Select Sky Inverse and Burn Bottom"), sky adjustments (eg, "Dehaze Sky", "Bloom Sunlight"), plus basic linear and radial gradients to dodge and burn specific areas. All are purposely minimal and lightweight for use as a baseline to apply additional edits.
I especially like using these presets as quick gut-checks to see if a mask will improve an image. If so, I keep the mask and fine tune its settings. If not, I tap undo on my keyboard and the mask is instantly removed.
Simple, fast, easy.
These presets are compatible with Adobe Lightroom, Lightroom Classic and Camera Raw. They're 100% free (simply enter zero in the price field), but feel free to buy me a coffee, if you feel inclined to do so! 😉 ☕️
How to create your own masking presets
Want to create your own masking presets? It's pretty easy and straightforward. Here's how, plus some tips to get best results.
- Create mask and apply settings
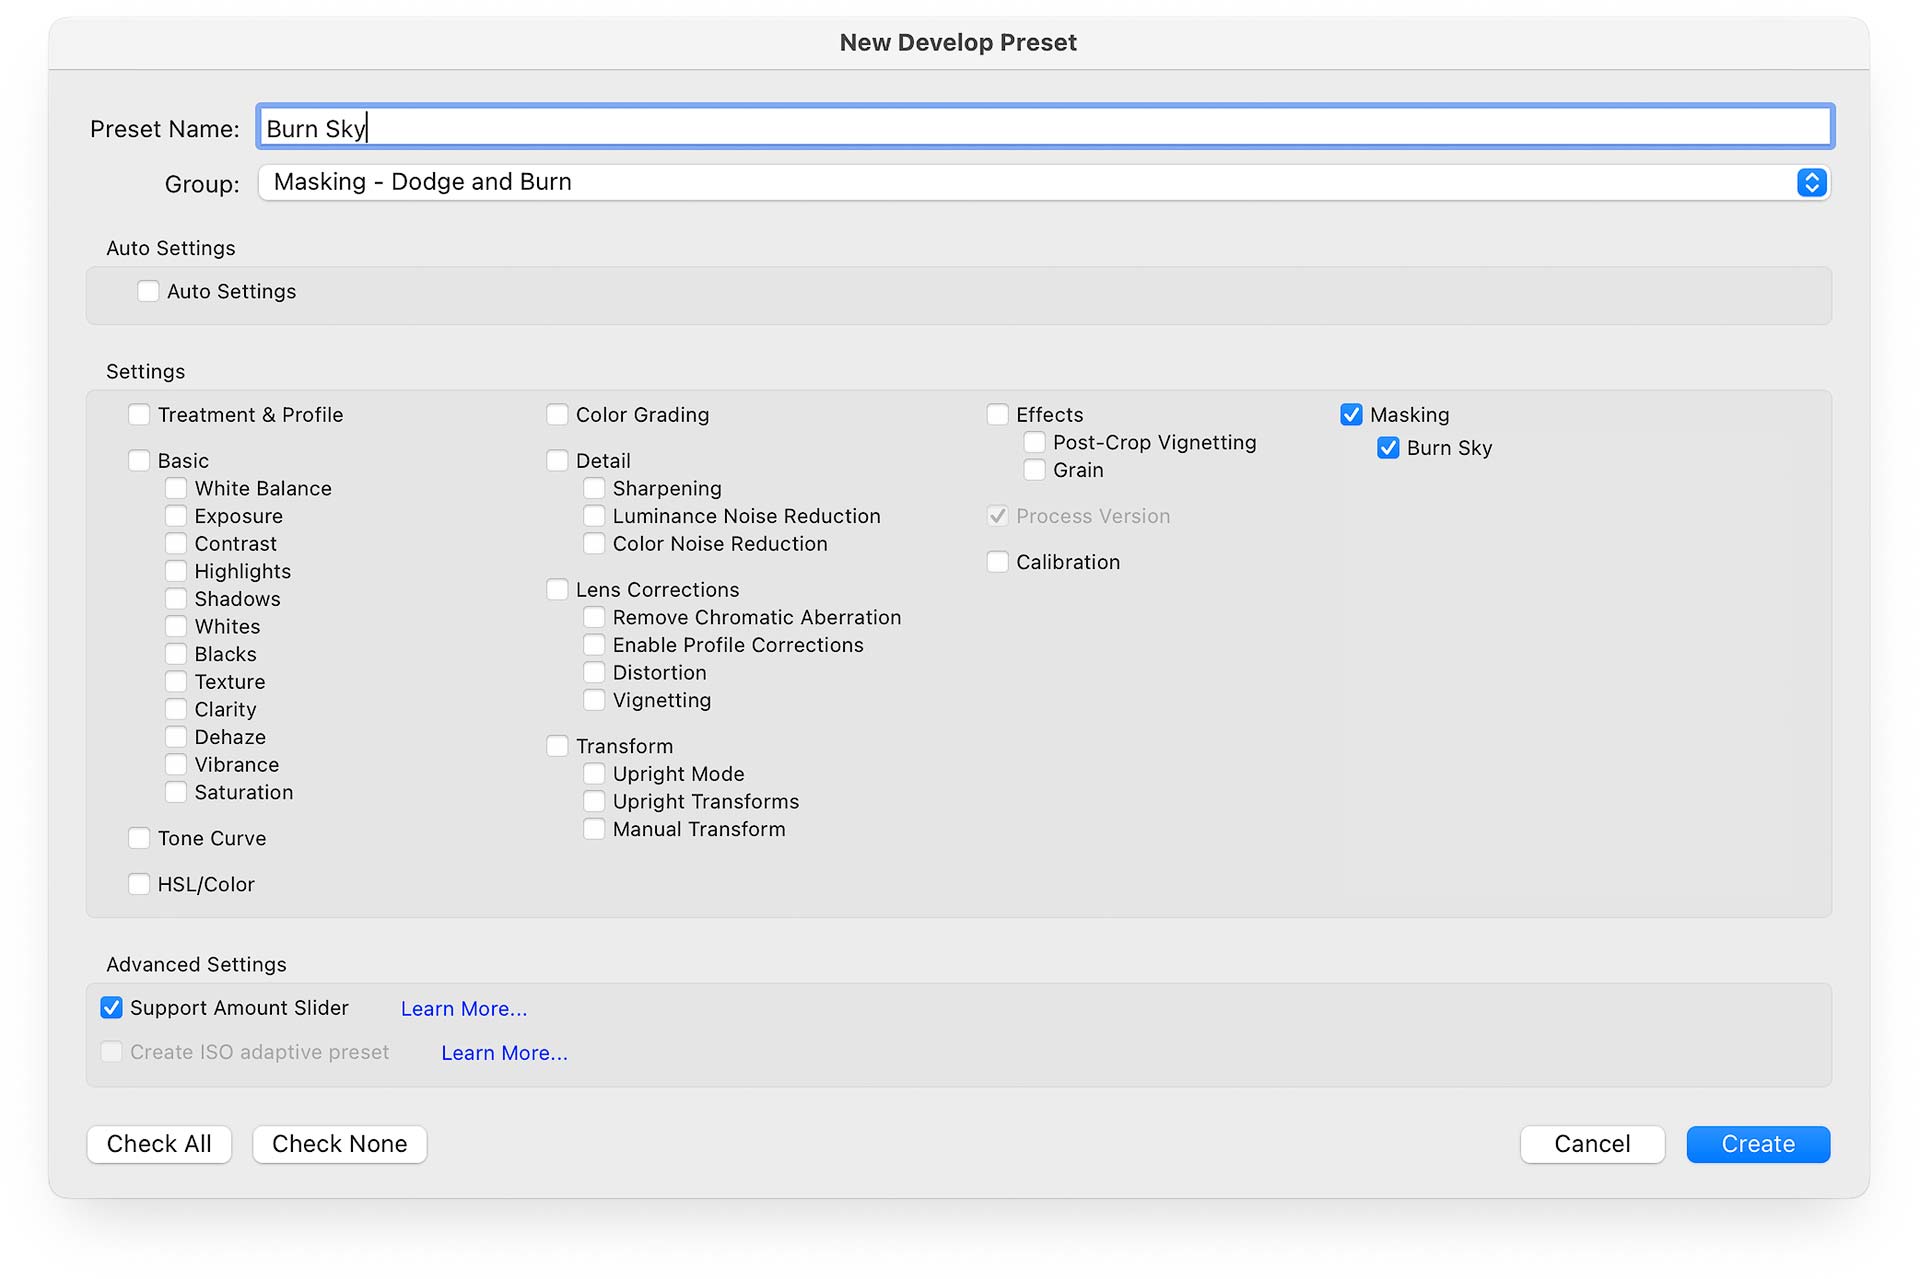
Build your mask in Lightroom's masking interface, and make sure to label the mask by double-clicking on it. That way it can be easily identified later when applied as a preset. Apply to the mask any settings you want underneath. - Create new preset
Go to the Presets panel and click the + button at top right. Here you may name the preset and assign it to a group. If you don't already have a group for it, I'd recommend click the second drop-down and creating a custom one so your masks can be more easily found later. - Deselect everything but the mask
Uncheck all settings in the preset creation window (there's a "Check None" button at the bottom to make this easier), then check the custom mask you created. This is also a good time to make sure the mask is named (from step one above). - Enable or disable amount slider
Under "Advanced Settings" is an option for using an amount slider with the preset. When enabled, a slider will appear at the top of the preset panel to increase or decrease the strength of its effect. This is only helpful with masks that apply some type of creative adjustment (contrast, clarity, etc), so to avoid confusion later on I'd check this only with masks that do the latter. - Click "Create" button
With your preset named, assigned to a custom group, and all settings unchecked except the mask, click the "Create" button at bottom right to generate the new preset. If you'd like to share the preset with others, right click on the preset to view the preset file in your local macOS / Windows file system. - Edit preset file (🤓 nerdy fine-tuning)
Linear and Radial Gradient masks cannot be aligned or snapped to edges in Lightroom, so they will not be perfectly positioned when applied using a preset. Thankfully, we can change this thereafter by editing the preset file itself. It's actually easier than it sounds. Open the preset file in a text editor (eg, BBEdit for macOS, Notepad on Windows, or something similar), then look for the mask position data towards the bottom. Odds are the numbers will be a little off. Round them up or down (eg, 0.023432 to 0 or 0.483234 to 0.5), save the preset file, quit and relaunch Lightroom. Exact coordinates will now be used when placing the mask.
That's it! Hopefully this will save you quite a bit of time. The same preset creation instructions are demonstrated towards the end of the embedded video above, if you'd care to check it out.